Tub and Shower Valve Replacement With Drywall Patch
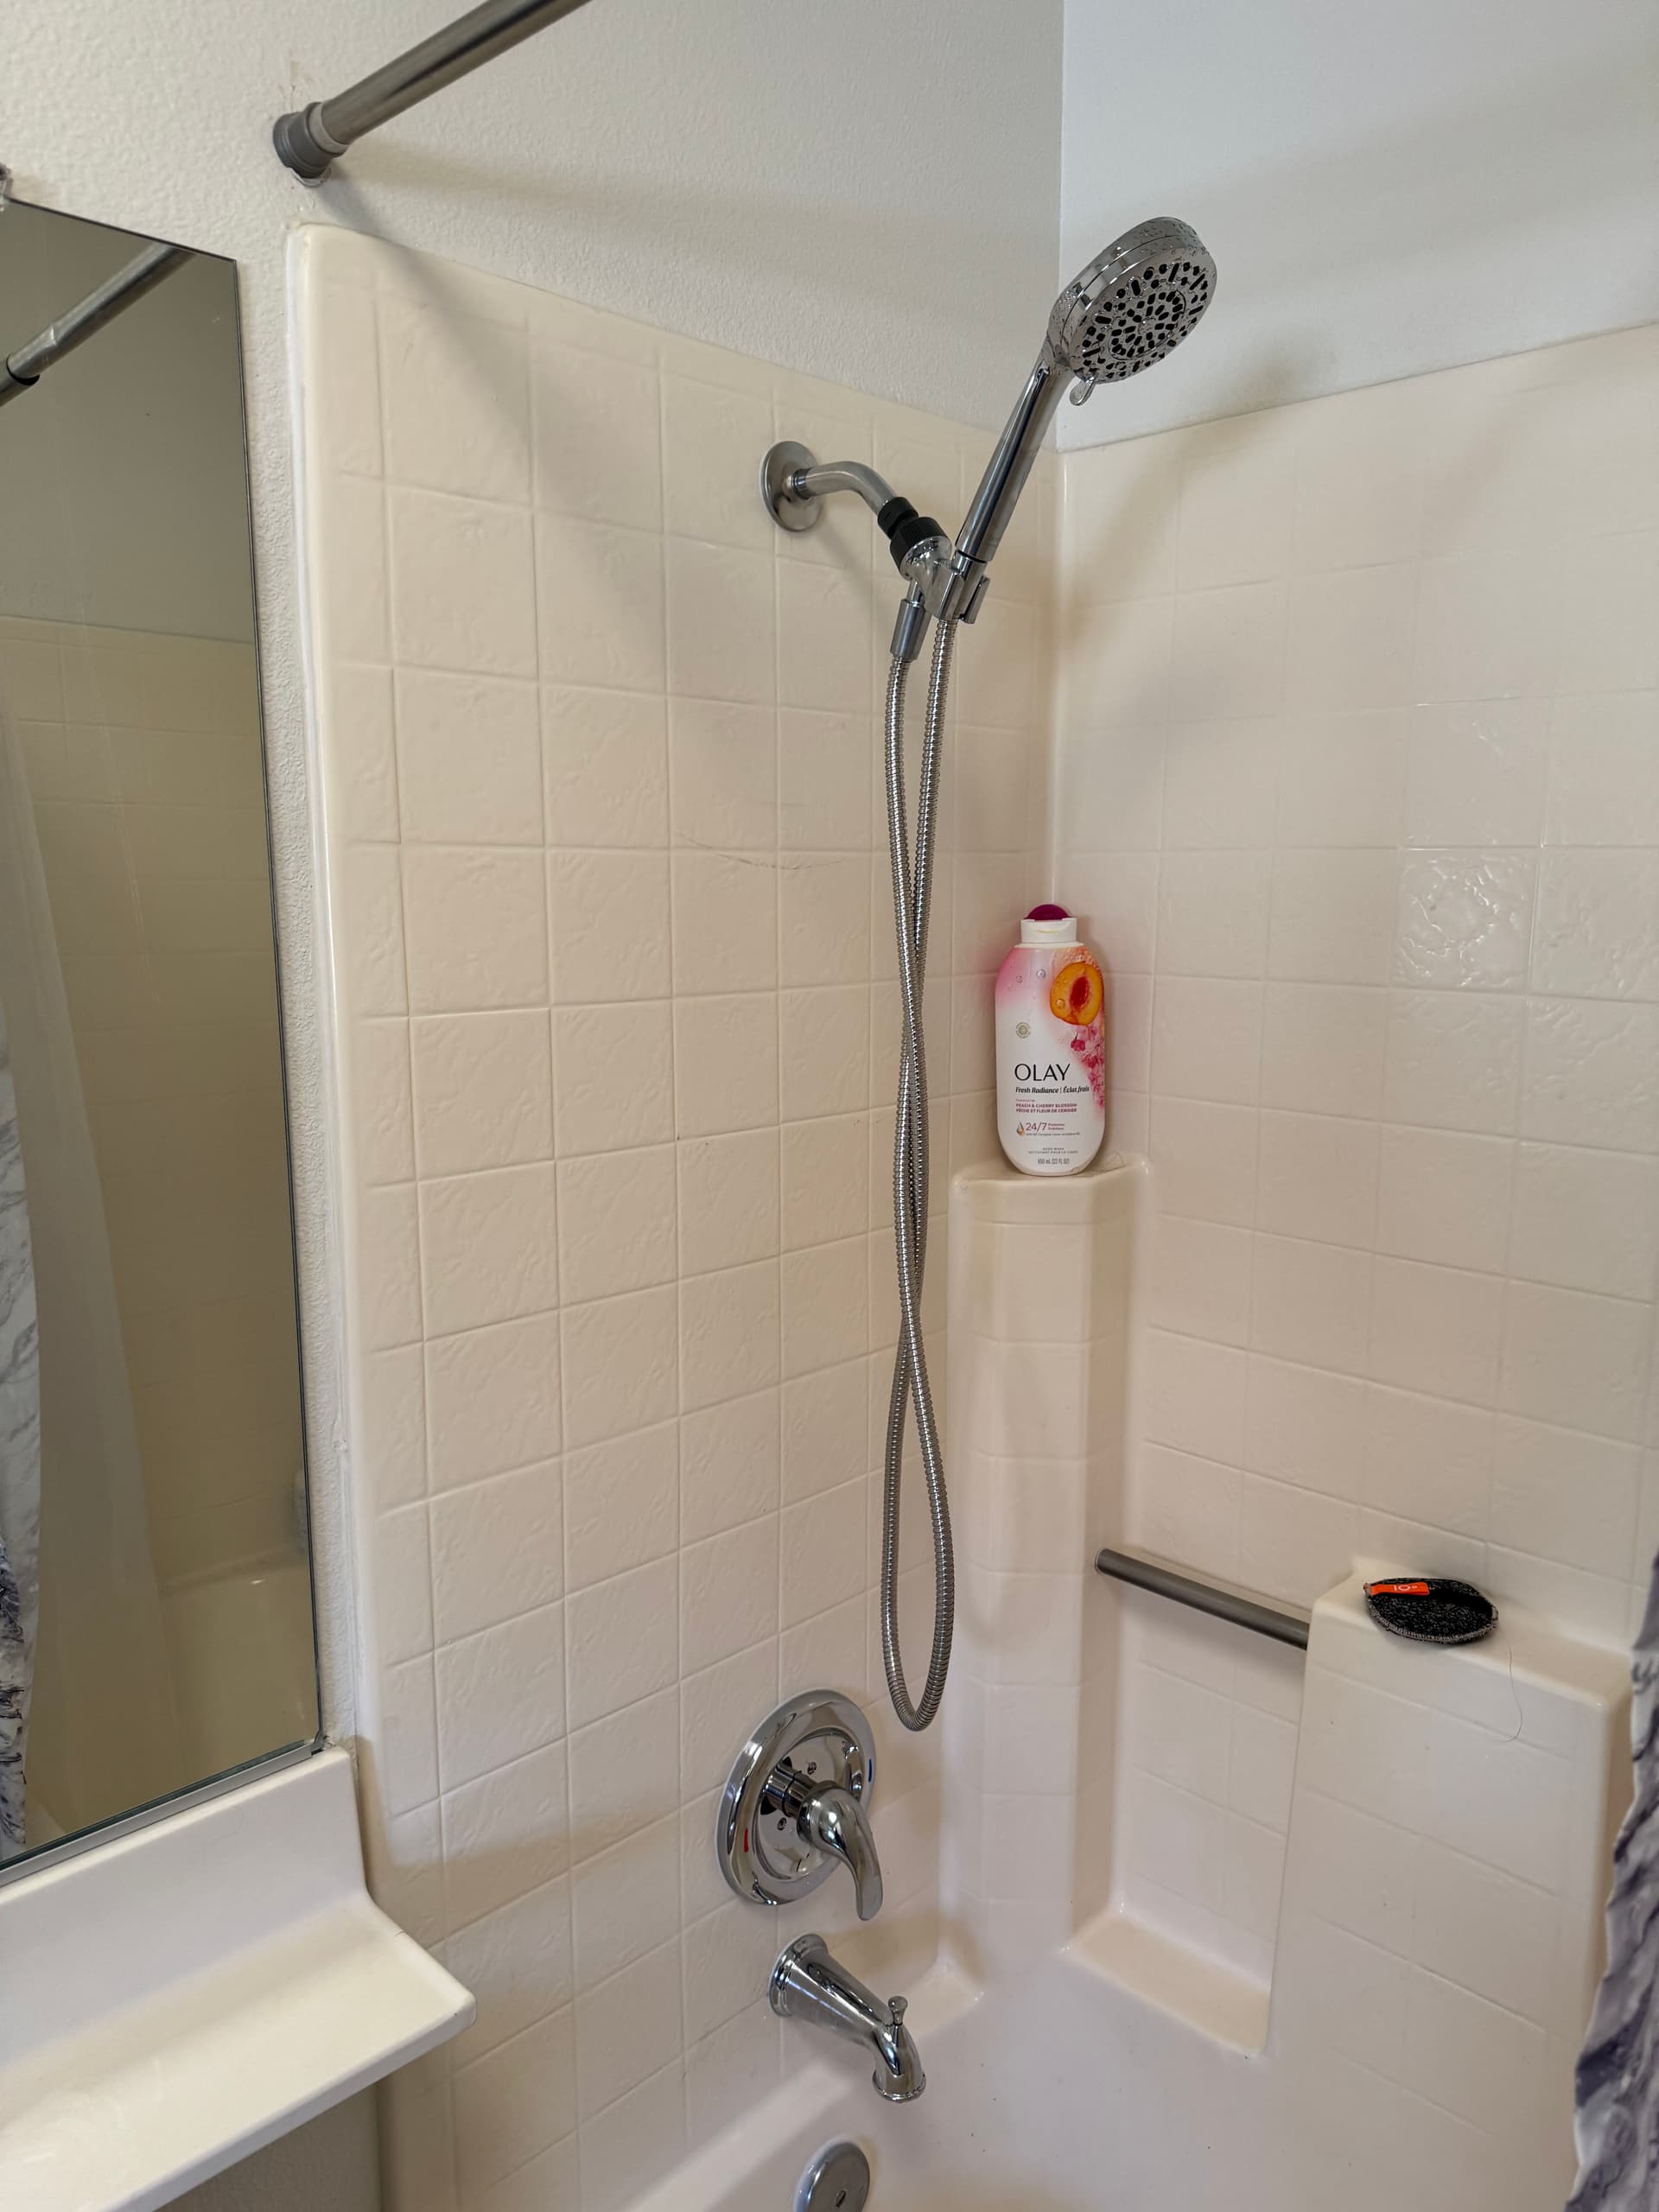
A shower valve problem might not seem urgent at first. Maybe the water takes forever to get hot. Maybe the handle feels loose. Maybe there's a small drip that comes and goes. But what's happening behind the wall is usually worse than what you can see - and waiting on it tends to make the repair bigger and more expensive.
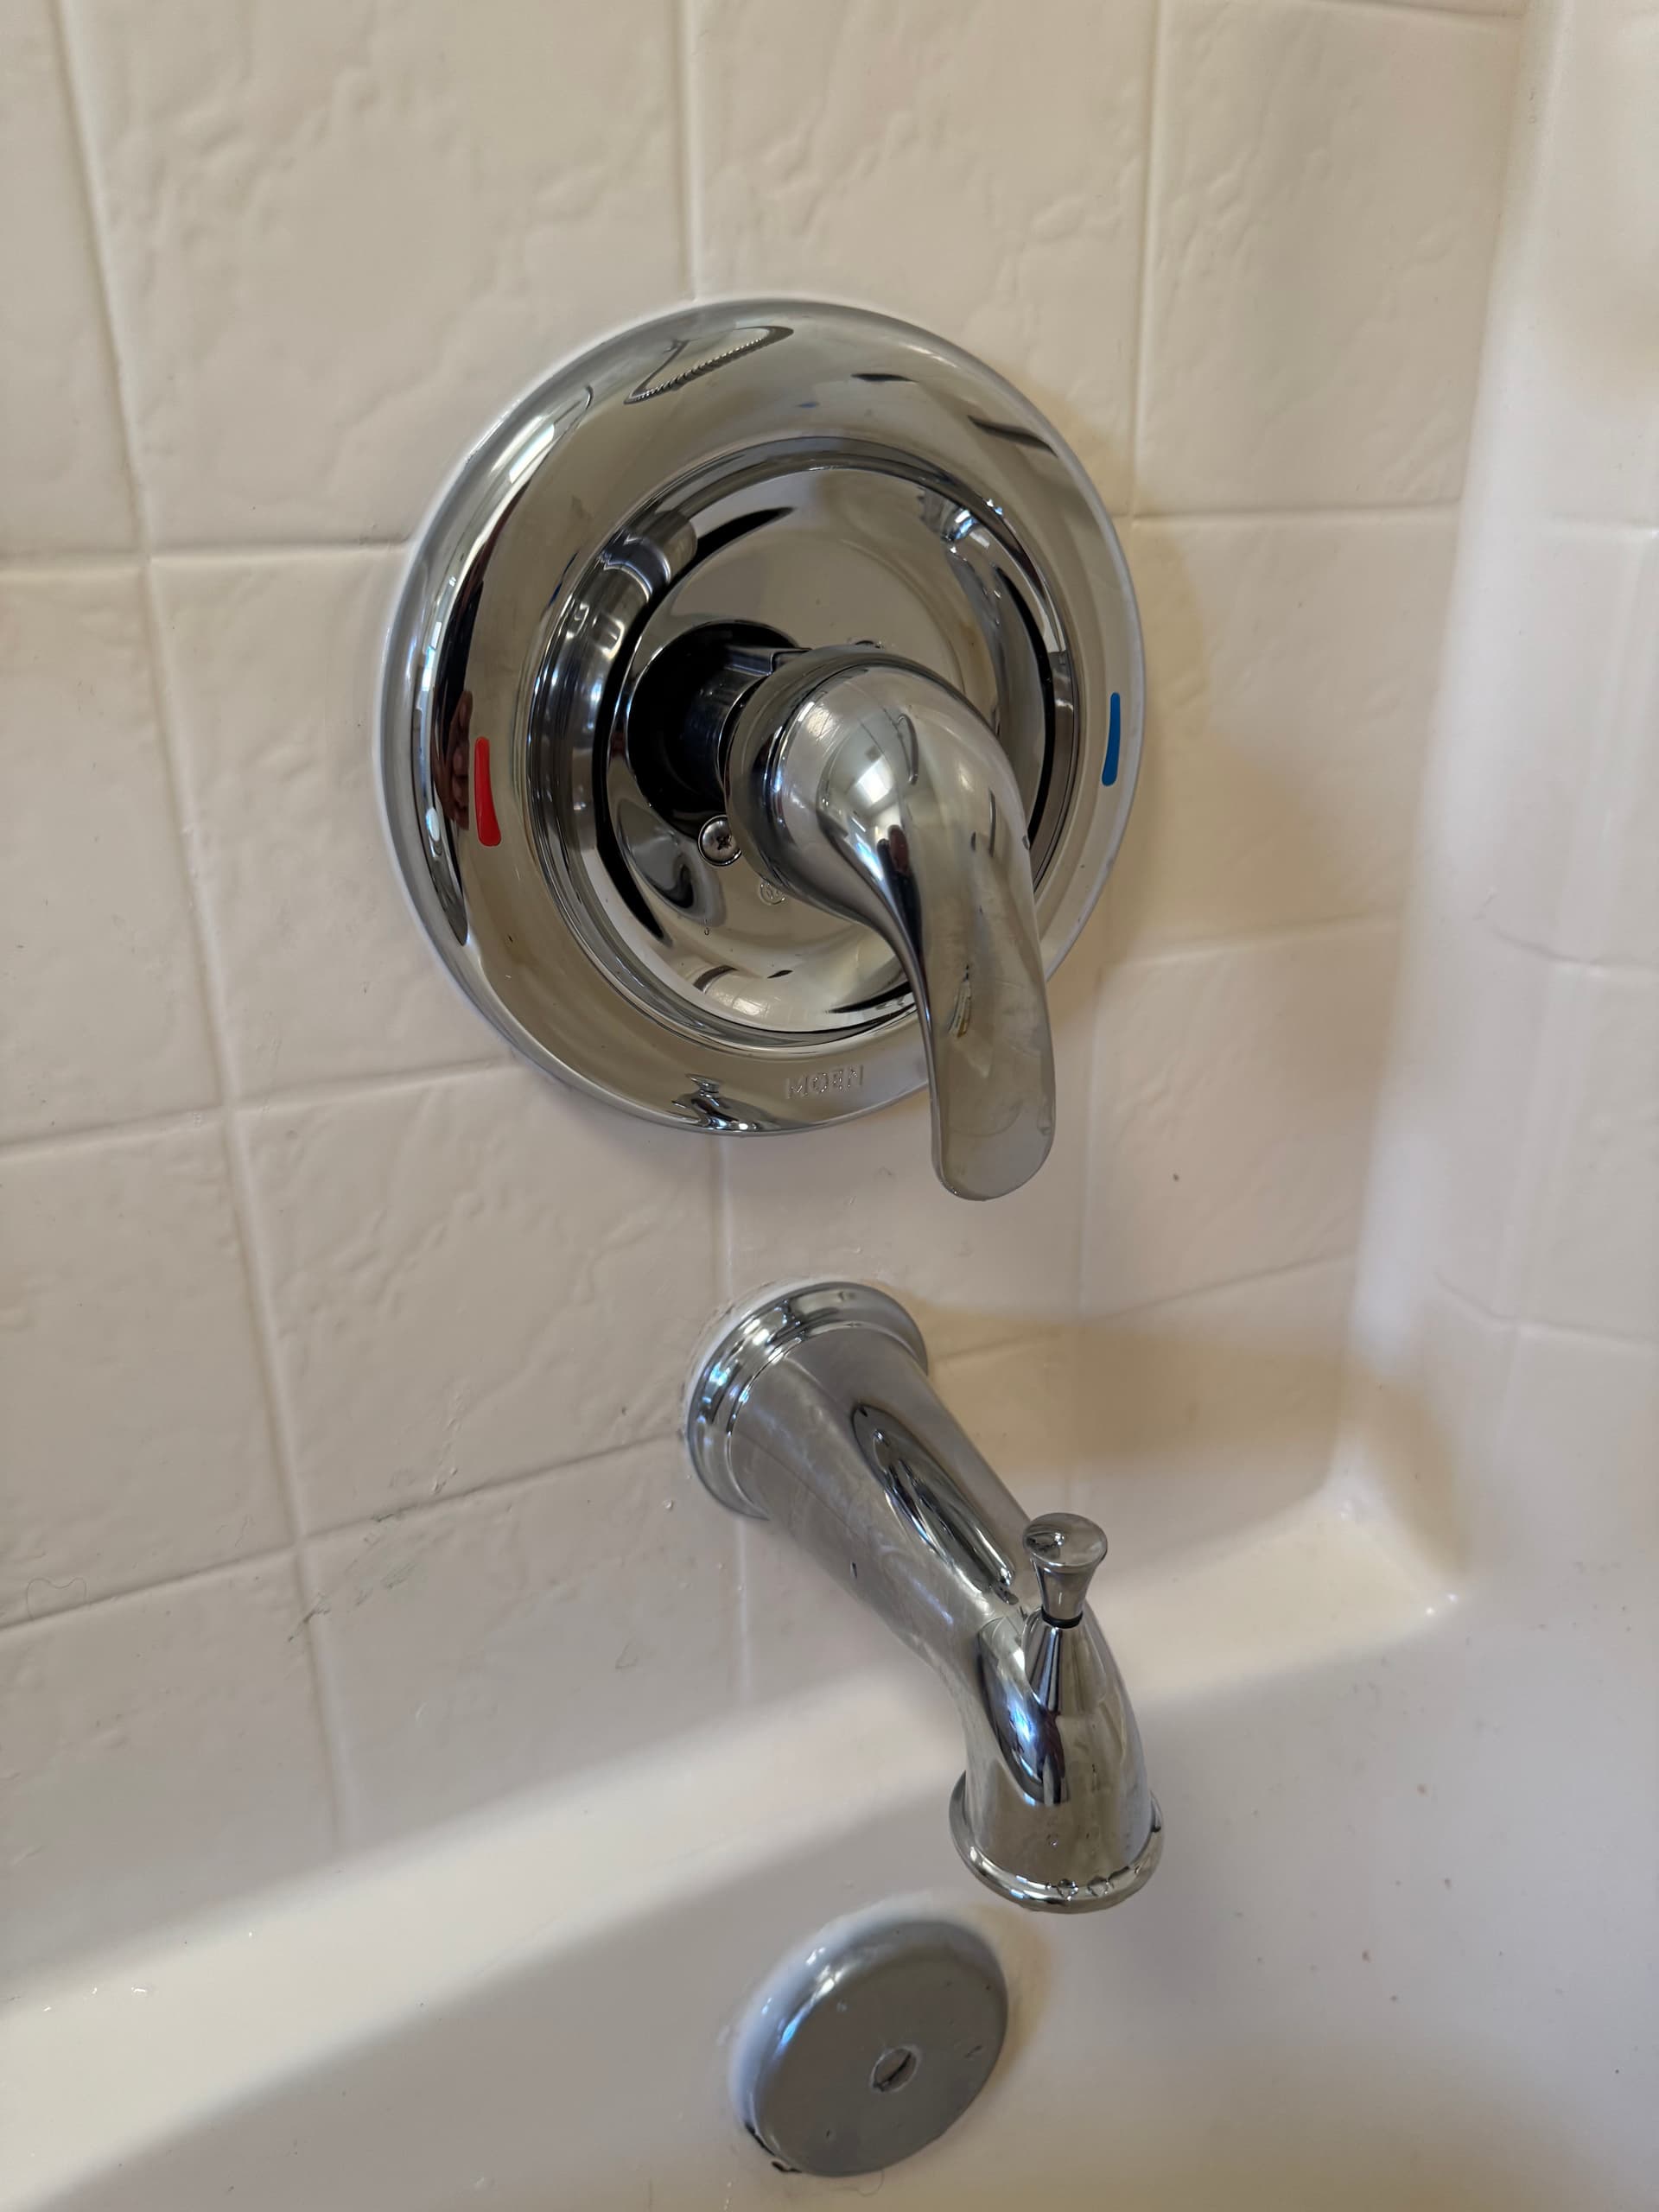
Here's what we were working with on this one: a tub and shower valve that needed to be fully replaced. The old fixture wasn't doing its job anymore - not mixing temperature correctly, and causing issues that were starting to affect the wall behind it. We pulled the old valve out, installed a new Moen tub and shower valve, and got everything seated and sealed properly. Clean chrome finish, solid handle action, and the temperature control works exactly like it should.
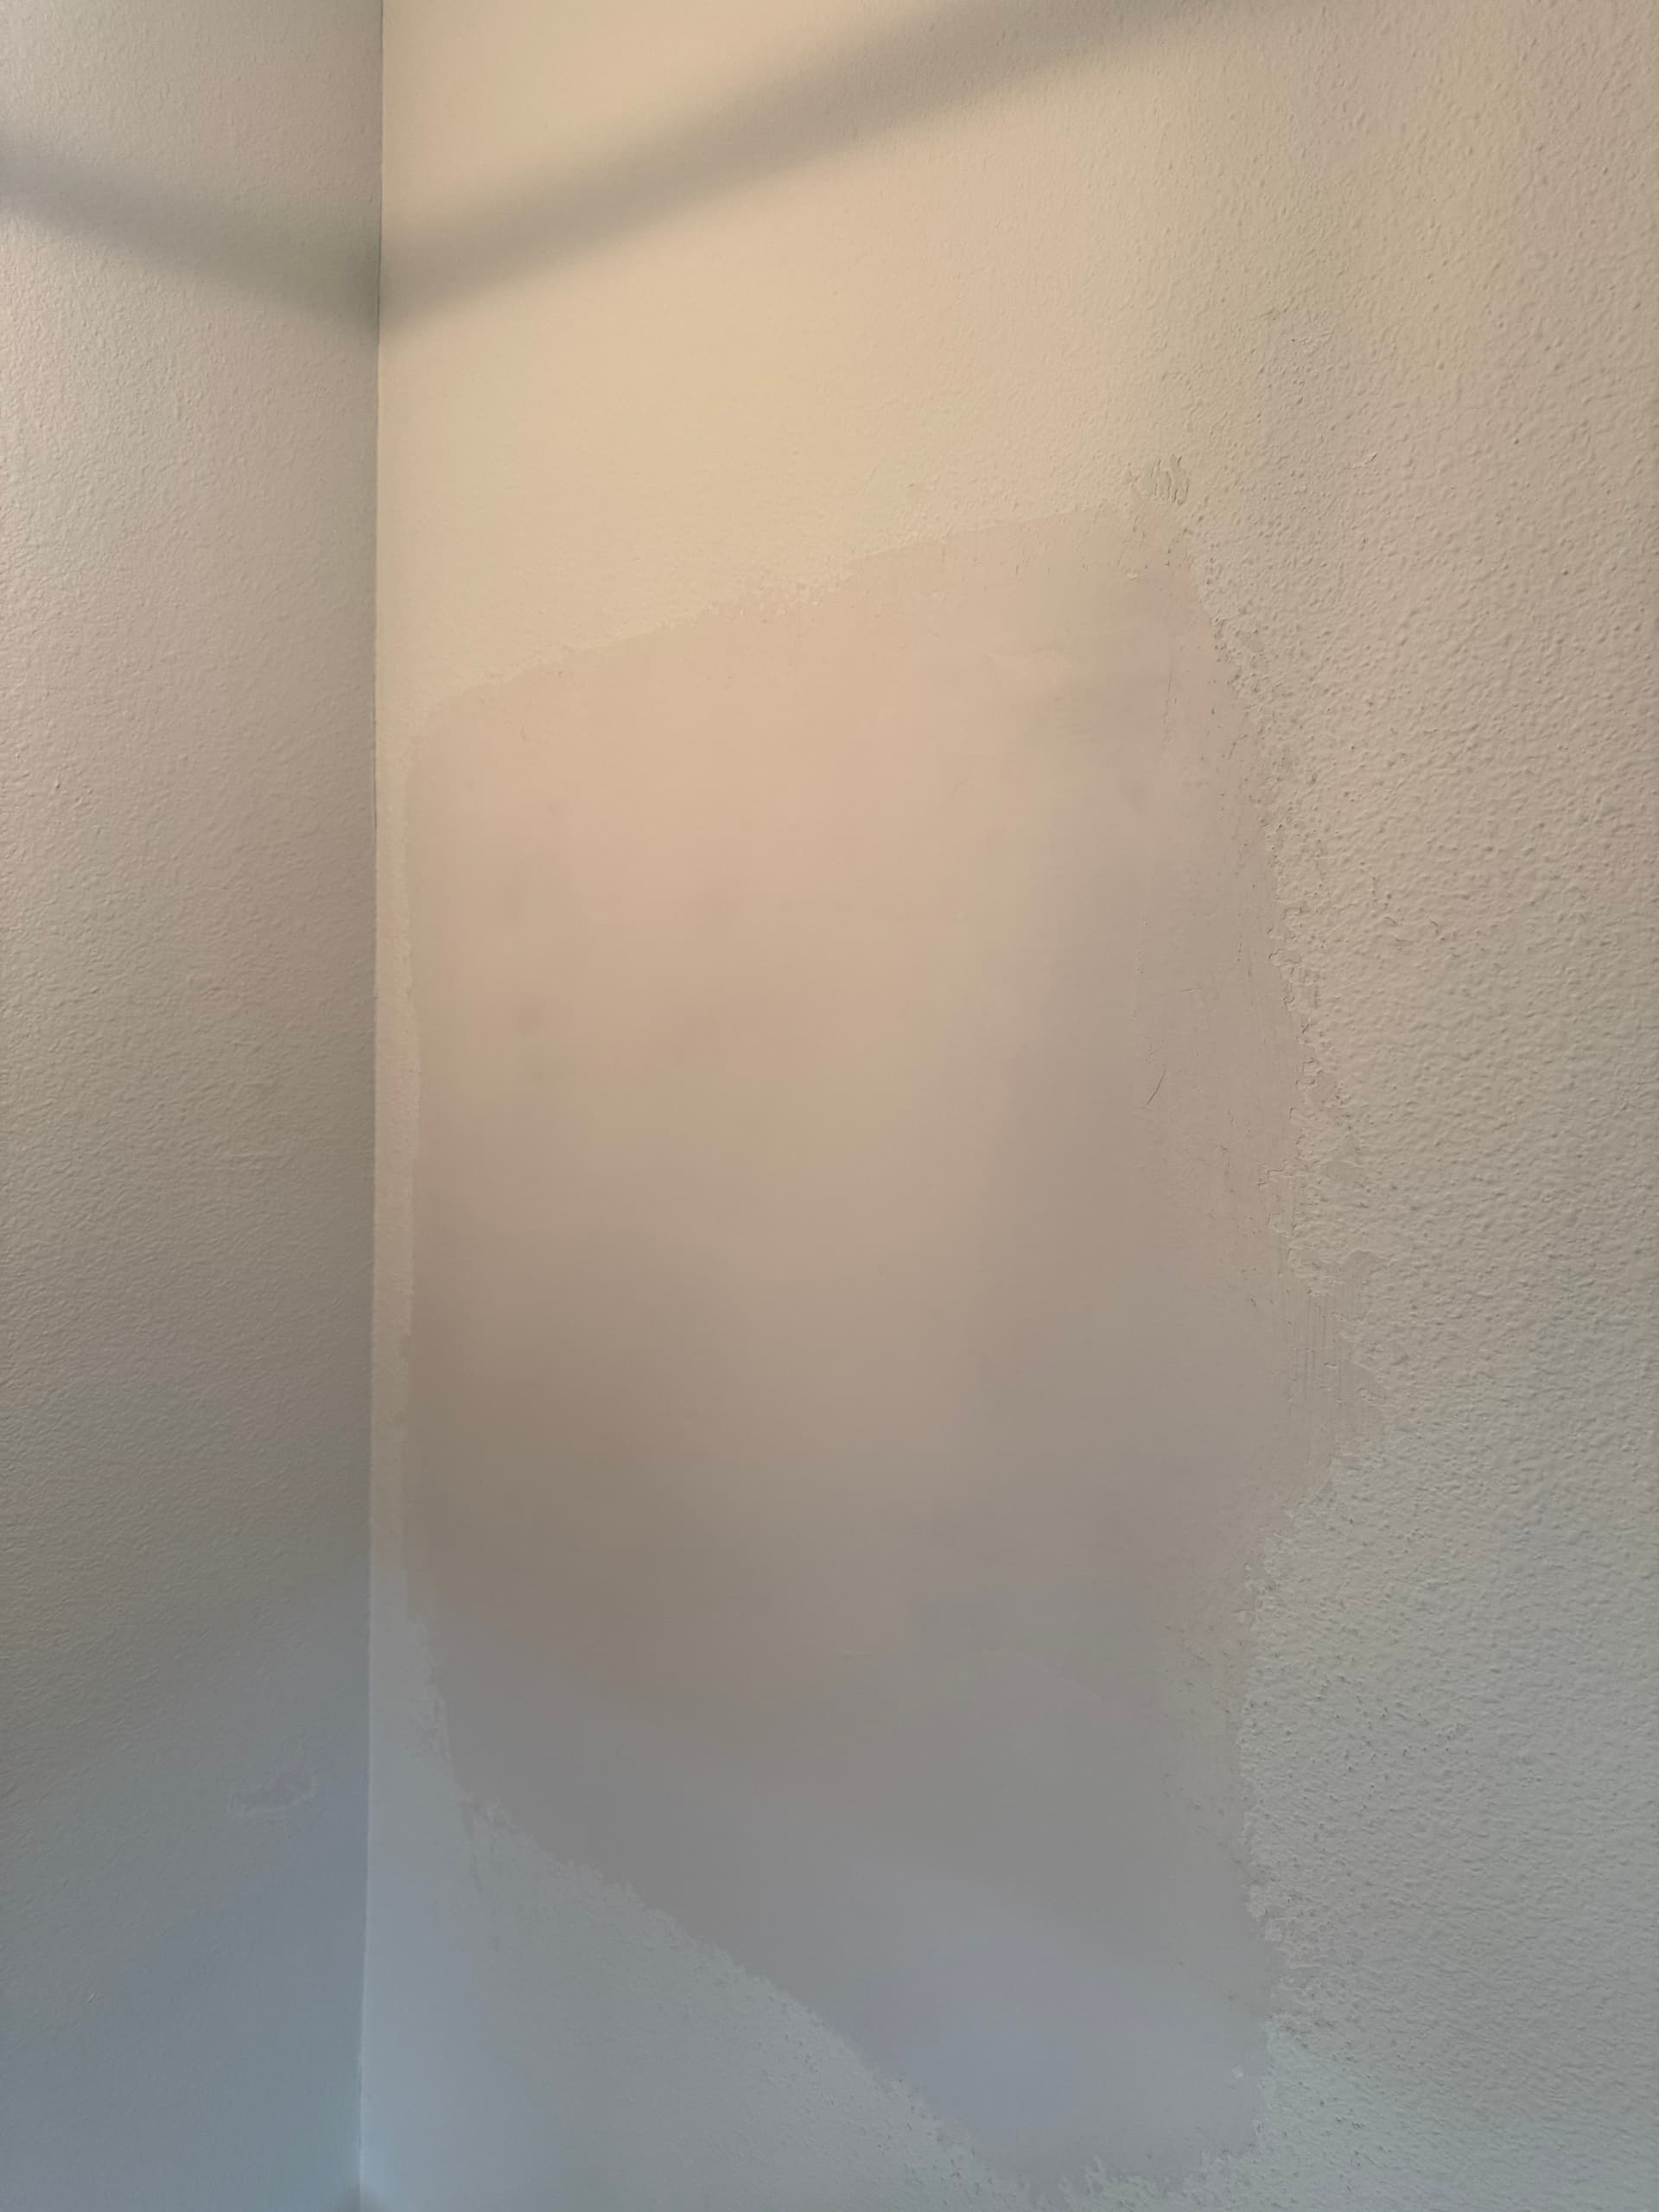
The drywall patch was part of the job too. Anytime you're working behind the wall, you have to open things up to get to the valve. We don't just leave that behind - we patch it, smooth it out, and leave it in a condition where it just needs paint. No shortcuts.
That's the part of plumbing most people don't think about until something goes wrong. A slow leak behind the wall can quietly damage drywall, framing, and even create mold issues over time. Catching a bad valve early - before it becomes a water damage situation - is almost always the cheaper path.
If your shower is dripping when it shouldn't be, struggling to hold a consistent temperature, or the handle just doesn't feel right, it's worth getting it looked at sooner rather than later.